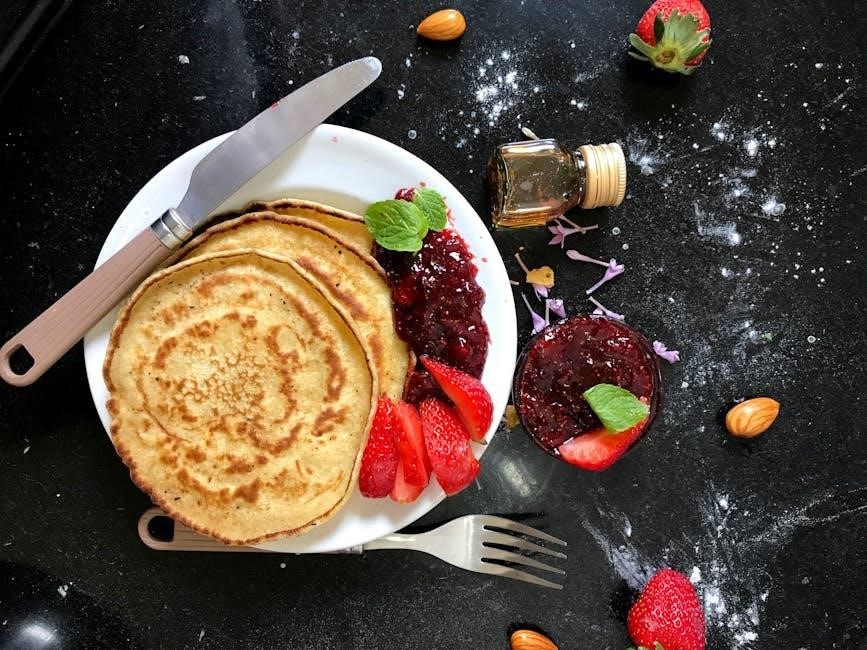
Sure-Jell Freezer Jam is a popular choice for homemade jam-making, offering a fresh, soft-set texture with minimal cooking. It’s perfect for preserving seasonal fruits and requires no canning, making it ideal for beginners and those seeking a quick, flavorful solution for delicious spreads.
What is Sure-Jell Freezer Jam?
Sure-Jell Freezer Jam is a homemade jam made with fresh fruit, sugar, and Sure-Jell pectin, designed to be stored in the freezer. It offers a soft, spreadable texture and fresh flavor without the need for canning. The process is quick, requiring no water bath, and the jam can be enjoyed year-round. It’s a convenient way to preserve fruit with minimal effort and time.
Why Choose Sure-Jell for Freezer Jam?
Choose Sure-Jell for its ease of use and consistent results. It ensures a perfect set every time, with a soft, spreadable texture. The quick preparation saves time, and the ability to store jam in the freezer for up to a year makes it ideal for preserving fresh flavors. Sure-Jell’s reliability and simplicity make it a top choice for both novice and experienced jam-makers seeking quality and convenience.
Ingredients and Tools Needed
Fresh fruit, granulated sugar, water, and Sure-Jell pectin are the primary ingredients. Essential tools include clean plastic containers with lids and a saucepan.
Essential Ingredients for Sure-Jell Freezer Jam
For homemade Sure-Jell Freezer Jam, you’ll need fresh or frozen fruit, granulated sugar, water, and one box of Sure-Jell pectin. Using firm, ripe fruit ensures the best flavor and texture. The sugar is crucial for sweetness and preservation, while the pectin helps achieve the jam’s soft set. Always follow the exact measurements provided in the Sure-Jell instructions for optimal results.
Required Equipment for Preparation
To make Sure-Jell Freezer Jam, you’ll need clean, sterilized containers with tight-fitting lids, a large saucepan, a wooden spoon or spatula, and a potato masher or blender for crushing fruit. Measuring cups and spoons are essential for accurate ingredient proportions. A small saucepan is also required for preparing the pectin mixture. Ensure all utensils are clean to maintain sterility and prevent spoilage.
Preparing Containers
Rinse clean plastic containers and lids with boiling water, then dry thoroughly. Use sterilized containers to ensure freshness and prevent spoilage of your homemade jam.
Cleaning and Sanitizing Containers
Thoroughly wash containers and lids with hot soapy water. Rinse well, then sanitize by submerging in boiling water for 10 minutes. This ensures a clean environment for jam preparation, preventing contamination and spoilage. Proper sanitization is crucial for maintaining freshness and safety when freezing homemade jam. Always use clean, sterilized containers before filling to guarantee the best results.
Drying Containers Before Use
Air-dry containers and lids thoroughly after sanitizing. Place them upside down on a clean towel to ensure no water remains. Proper drying prevents water spots and maintains sterility. Allow containers to dry completely before filling with jam to ensure optimal freshness and prevent contamination. This step is essential for maintaining the quality and safety of your homemade freezer jam.
Preparing the Pectin Mixture
Combine Sure-Jell pectin with water in a saucepan, gradually stirring to avoid lumps. Bring to a boil, then cook for 1-2 minutes until thickened, ensuring proper gelling for your jam.
How to Mix Sure-Jell Pectin with Water
Gradually stir Sure-Jell pectin into cold water in a small saucepan to prevent lumps. Bring the mixture to a boil over high heat, stirring constantly. Cook for 1-2 minutes until the pectin dissolves completely, creating a smooth, gel-like consistency essential for setting the jam properly.
Cooking the Pectin Mixture to the Right Consistency
Cook the pectin-water mixture to a rolling boil, stirring constantly, until it thickens. This ensures the jam sets correctly. Use a candy thermometer to check consistency, aiming for 220°F. Proper cooking ensures a smooth, even texture and prevents runny or overly thick jam.
Crushing the Fruit
Crush fresh, ripe fruit thoroughly using a food processor or potato masher to release juices and ensure an even texture for the jam mixture.
Choosing the Right Fruit for Freezer Jam
Selecting the right fruit is crucial for optimal flavor and texture. Use firm, ripe fruit like strawberries, raspberries, or blackberries for the best results. Ensure the fruit is fresh and free of mold or bruises. Wash thoroughly before crushing to retain natural juices and flavors. Proper fruit selection directly impacts the jam’s taste and consistency, making it essential to choose high-quality ingredients for a delicious outcome.
Properly Crushing Fruit for Optimal Texture
Crush fruit thoroughly to release natural juices and ensure even distribution of flavors. Use a potato masher or food processor to achieve a smooth consistency. Avoid over-processing, as it can lead to a mushy texture. For chunky jam, leave small fruit pieces intact. Proper crushing balances texture and flavor, creating a jam that’s both delicious and visually appealing. This step is vital for achieving the desired consistency in your freezer jam.
Cooking the Jam Mixture
Cook the mixture of crushed fruit, sugar, and pectin to a boil, stirring constantly. Reduce heat and simmer until the jam thickens, about 5 minutes.
Combining Fruit, Sugar, and Pectin Mixture
In a large bowl, mix crushed fruit and sugar until well combined. Gradually stir in the prepared pectin mixture, ensuring a smooth consistency. Let the mixture sit for 2-3 minutes to allow sugar to dissolve slightly; This step ensures even distribution of flavors and textures, creating the perfect base for your freezer jam before cooking.
Cooking Instructions for the Perfect Set
Combine the fruit-sugar mixture with the pectin mixture in a large saucepan. Bring to a boil over high heat, stirring constantly. Reduce heat slightly and simmer, continuing to stir, until the jam thickens and passes the “wrinkle test.” Avoid overcooking, as this can result in overly firm jam. Proper cooking ensures a smooth, spreadable texture with a vibrant flavor, ready for filling containers.
Filling and Sealing Containers
Transfer the jam mixture into prepared containers, leaving a small space at the top. Wipe rims with a clean cloth, secure lids tightly, and ensure a proper seal for freezing.
Transferring Jam to Prepared Containers
Use a clean ladle to carefully pour the jam mixture into prepared containers, leaving about 1/2 inch of space at the top. Avoid spills by transferring slowly. Wipe any drips from the rims with a clean, damp cloth to ensure proper sealing. Fill containers evenly to maintain consistency and prevent air pockets, which can lead to contamination. This step ensures your jam is ready for sealing and freezing.
Sealing Containers for Freezing
Once filled, immediately place clean, dry lids on the containers, ensuring they fit tightly for a proper seal. Label each container with the date and contents. Store the sealed containers in the freezer, where the jam will keep for up to 12 months. Before freezing, double-check that lids are securely fastened to prevent contamination and ensure freshness. Proper sealing is crucial for long-term storage and food safety.
Storage and Shelf Life
Sure-Jell Freezer Jam can be stored in the freezer for up to 12 months and in the refrigerator for up to 6 months after thawing. Proper sealing and labeling ensure freshness and safety. Always store in airtight containers to maintain quality and flavor.
Freezing Instructions for Long-Term Storage
For long-term storage, place the prepared jam in clean, airtight containers, leaving 1/4-inch headspace. Label with the date and freeze at 0°F or below. Frozen jam will keep for up to 12 months. Once thawed, store in the refrigerator and use within 6 months. Proper sealing ensures freshness and prevents freezer burn, maintaining the jam’s flavor and texture.
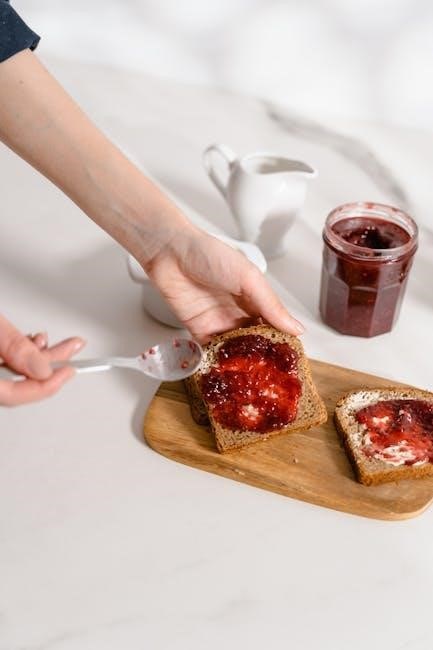
Thawing and Using Frozen Jam
Thaw frozen jam in the refrigerator overnight or at room temperature for a few hours. Once thawed, stir well and use immediately. Store any leftovers in the fridge for up to six months. The jam retains its flavor and texture, making it perfect for toast, yogurt, or as a glaze for meats or cheeses. Always check for any signs of spoilage before consuming.
Troubleshooting Common Issues
Troubleshooting common issues ensures success. Factors like pectin ratio, sugar levels, and cooking time affect consistency. Addressing these helps achieve the perfect set and texture for your jam.
What to Do if Jam Doesn’t Set Properly
If the jam doesn’t set, it may be due to insufficient pectin, incorrect sugar ratio, or inadequate boiling; To fix, mix 1 tablespoon of pectin with 1 tablespoon of water, stir into the jam, and re-boil for 1-2 minutes. Ensure sugar is fully dissolved and ingredients are accurately measured to achieve the desired consistency and texture.
Fixing Runny or Too-Thick Jam
For runny jam, mix 1 tablespoon of pectin with 1 tablespoon of water, stir into the jam, and re-boil for 1-2 minutes. If too thick, gently warm the jam and stir in a small amount of water until desired consistency is reached. Always ensure accurate measurements and proper cooking to avoid these issues and achieve the perfect texture for your Sure-Jell Freezer Jam.