Welcome to the ultimate guide for assembling Star Wars: Shatterpoint miniatures! This guide provides step-by-step instructions, tips, and tricks to help you master the assembly process, ensuring your miniatures are game-ready and visually stunning. Whether you’re a seasoned pro or a newcomer, these instructions will help you bring your favorite characters, like Paz Vizsla, to life with precision and care.
Overview of Star Wars: Shatterpoint
Star Wars: Shatterpoint is a tactical miniatures game that brings the epic battles of the Star Wars universe to life. Players assemble and paint intricate miniatures, each representing iconic characters, troopers, and vehicles. The game emphasizes strategic combat and character customization, allowing fans to recreate legendary showdowns or craft unique scenarios. Proper assembly of these miniatures is crucial for both aesthetics and gameplay functionality, ensuring that each piece performs as intended on the battlefield. Whether you’re a casual hobbyist or a competitive player, understanding the assembly process is key to unlocking the full potential of your Star Wars: Shatterpoint collection.
Importance of Proper Assembly in Gameplay
Proper assembly of Star Wars: Shatterpoint miniatures is vital for optimal gameplay and visual appeal. Misaligned or poorly constructed pieces can hinder functionality, affecting how units move, attack, or interact on the battlefield. Correctly assembled miniatures ensure smooth gameplay mechanics, allowing players to fully leverage their characters’ abilities and stats. Additionally, well-constructed miniatures enhance the immersive experience, drawing players deeper into the Star Wars universe. Attention to detail during assembly not only elevates the game’s aesthetic but also ensures that each miniature performs as intended, making it a critical step for both casual and competitive play.
Gathering Materials and Tools
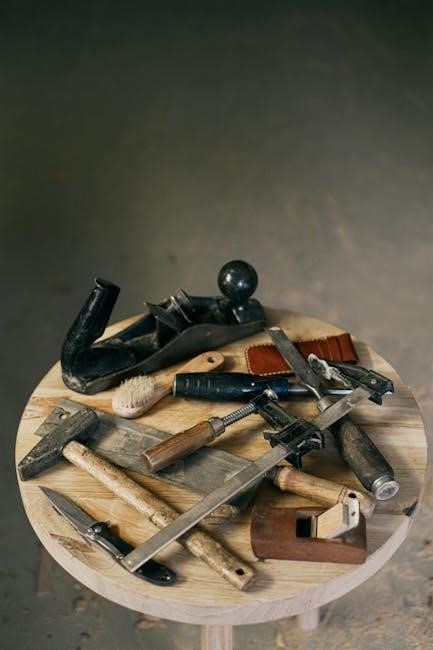
To begin assembling your Star Wars: Shatterpoint miniatures, gather essential tools like clippers, hobby knives, and glue. Ensure you have recommended materials like paints and files ready for optimal results. Proper preparation ensures a smooth assembly process and enhances the final product’s quality. Having everything organized beforehand saves time and reduces frustration, allowing you to focus on bringing your miniatures to life. A well-equipped workspace is key to achieving professional-looking results.
Essential Tools for Miniature Assembly
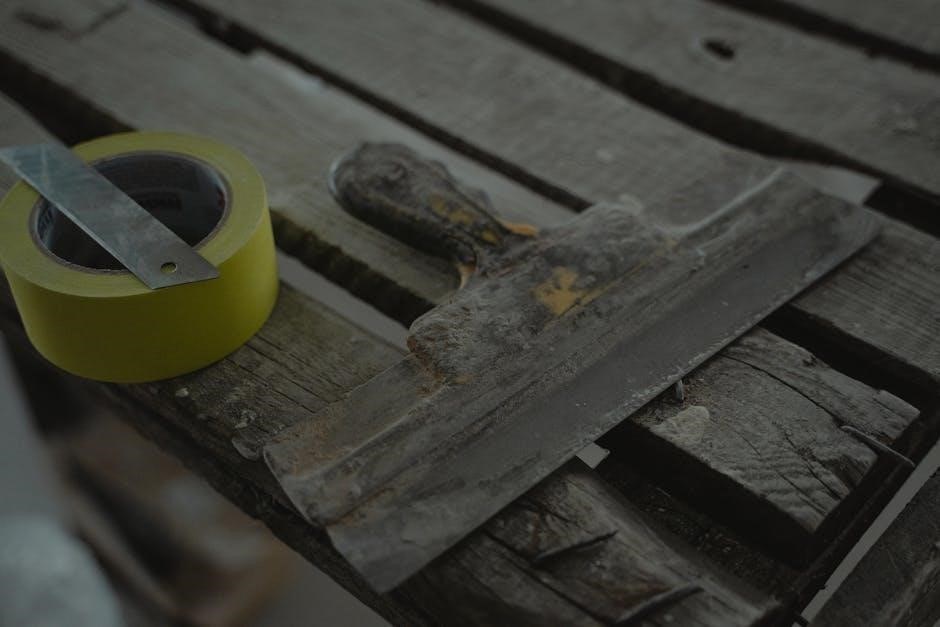
Assembling Star Wars: Shatterpoint miniatures requires specific tools to ensure precision and care. Start with a good pair of clippers for removing parts from frames without damaging them. A hobby knife is crucial for trimming excess plastic and smoothing rough edges. Super glue or plastic cement is necessary for bonding parts securely. Files and sanding tools help refine joints and remove burrs. A magnifying glass or lamp can aid in detailed work, especially for small or intricate components; A clean, stable workspace is also vital for organization. Optional tools include paints and sealants for customizing your miniatures. Having these essentials ready ensures a smooth and successful assembly process.
Recommended Materials for Optimal Results
For the best outcomes in assembling your Star Wars: Shatterpoint miniatures, use high-quality materials tailored to plastic model kits. Start with a strong adhesive, such as super glue or plastic cement, to bond parts securely. For filling gaps, use a plastic filler or putty, which can be sanded smooth. Acrylic paints and primer are ideal for customizing your miniatures, while sealants protect the paint and add durability. Optional materials include basing compounds for creating terrain effects and transparent varnishes for enhancing details. Ensuring you have these materials on hand will help you achieve professional-looking results and elevate your miniatures to the next level of quality and presentation.
Step-by-Step Assembly Guide
Follow this detailed guide to assemble your Shatterpoint miniatures with ease. Learn how to prepare components, attach parts, and finalize your models for gameplay perfection.

Preparing the Miniature Components
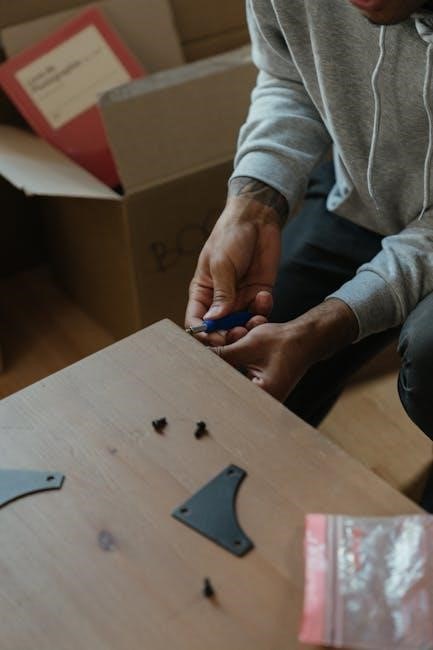
Begin by carefully removing each component from its frame, ensuring not to bend or warp delicate parts. Use clippers or a hobby knife to trim excess material, taking extra care with thin or intricate pieces. Lightly sand rough edges to smooth them out, preventing burrs from interfering with assembly. For particularly fine details, consider using a fine-grade file or sandpaper to polish surfaces. Once all components are prepped, organize them by type or size to streamline the assembly process. This step is crucial for achieving a seamless and professional-looking final product, especially for complex miniatures like Paz Vizsla.
Assembling the Base and Core Structure

Start by identifying the base and core components, ensuring they fit together seamlessly. Apply a small amount of adhesive to the designated areas, carefully aligning the parts to avoid misalignment. Use a hobby clamp or tweezers to hold pieces in place while the adhesive sets. For intricate designs, consider painting or detailing the base before assembly to enhance aesthetics. Allow the core structure to fully cure before moving on to additional components. This foundational step is critical for stability and ensures a professional finish. Handle thin or delicate parts with precision, as they can be fragile. Proper alignment here sets the stage for a flawless final assembly, especially for detailed miniatures like Paz Vizsla.
Attaching Weapons and Accessories
When attaching weapons and accessories, start by carefully removing each piece from the sprue using clippers or a hobby knife. Handle thin or delicate parts with precision to avoid breakage. Align the weapon or accessory with the miniature’s design, ensuring it fits naturally into the intended socket or area. Use a small amount of adhesive, applying it to the connection point for a secure bond. For intricate details like Mandalorian helmets or blasters, consider painting or weathering before attachment for a polished look. Allow the adhesive to set completely before handling the miniature. This step adds personality and functionality to your characters, making them ready for gameplay or display. Specific tips for characters like Paz Vizsla can enhance the final result, ensuring weapons like his signature spear are perfectly positioned.
Character-Specific Assembly Tips
Discover expert advice for assembling unique characters, addressing their distinct features and challenges. Learn how to handle intricate details and optimize each character’s design for a flawless finish.
Building Paz Vizsla Miniature
Assembling Paz Vizsla requires attention to detail due to his intricate Mandalorian armor and unique weapons. Start by carefully removing parts from the sprue, taking extra care with thin components like his beskar armor plating. Use side cutters and a hobby file to smooth edges. Begin with the core structure, ensuring proper alignment of the torso and legs. Attach the helmet and shoulder pads next, as these define his iconic look. His weapons, such as the spear and blaster, should be handled with precision to avoid bending. Refer to assembly diagrams for optimal positioning. Patience is key to capturing his rugged, battle-ready appearance accurately.
Assembly Tips for Other Key Characters
When assembling other key characters in Star Wars: Shatterpoint, focus on their unique features. For example, B1 battledroids require aligning multiple identical parts precisely, while characters like clone troopers need careful handling of their helmets and weapons. Thin components, such as lightsabers or blasters, should be clipped carefully to avoid bending. Use files to smooth rough edges and ensure a seamless fit. For characters with accessories, like backpacks or jetpacks, attach them last to prevent obstruction. Reference assembly diagrams for accurate placement. Handling delicate parts with tweezers can prevent damage. Always dry-fit parts before gluing to ensure proper alignment. Patience and attention to detail will bring your characters to life. For complex figures, consult official guides or community tips for specific advice.
Troubleshooting Common Issues
Fixing misaligned parts requires patience. Gently adjust pieces before gluing. For thin components, use tweezers to avoid breakage. Dry-fit parts first to ensure proper alignment.
Fixing Misaligned Parts
Fixing misaligned parts is crucial for a seamless build. Start by gently sanding or filing uneven edges to realign components. For minor gaps, apply a small amount of plastic cement to weld pieces together. If parts are significantly misaligned, carefully heat the area with a hairdryer to soften the plastic, allowing for adjustments. Use tweezers to hold small components in place while gluing. Dry-fit parts first to ensure proper alignment before applying adhesive. For delicate or thin parts, handle with care to avoid breakage. Patience and precision are key to achieving a professional finish. Regularly check your work to catch and correct misalignments early.
Handling Thin or Delicate Components
Thin or delicate components require extra care to avoid damage. Use tweezers to handle small parts, ensuring a firm yet gentle grip. When cutting thin pieces from sprues, use a sharp hobby knife or clippers to minimize stress. Sand edges lightly to remove burrs that could cause breakage. Dry-fit components before gluing to ensure proper alignment and reduce strain. Apply a small amount of adhesive to avoid excess that might seep into joints. For particularly fragile parts, consider reinforcing them with a pin or thin wire. Work in a well-lit area to maintain visibility, and take your time to prevent accidental bending or snapping. Patience and precision are key to preserving the integrity of delicate components.