Manual mode empowers photographers with full control over aperture, shutter speed, and ISO, enabling precise adjustments for creative vision and technical accuracy in various photography scenarios.
What is Manual Mode?
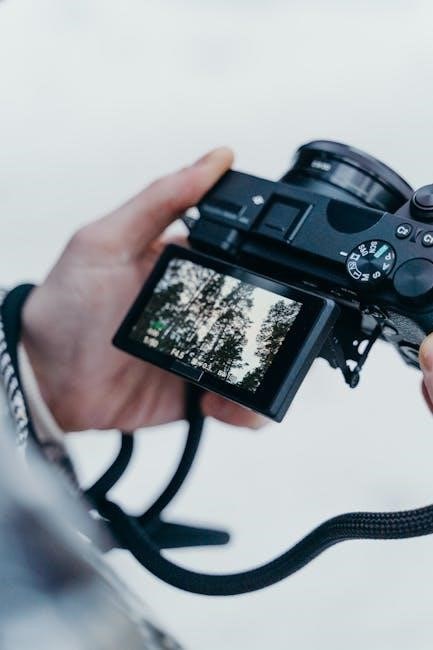
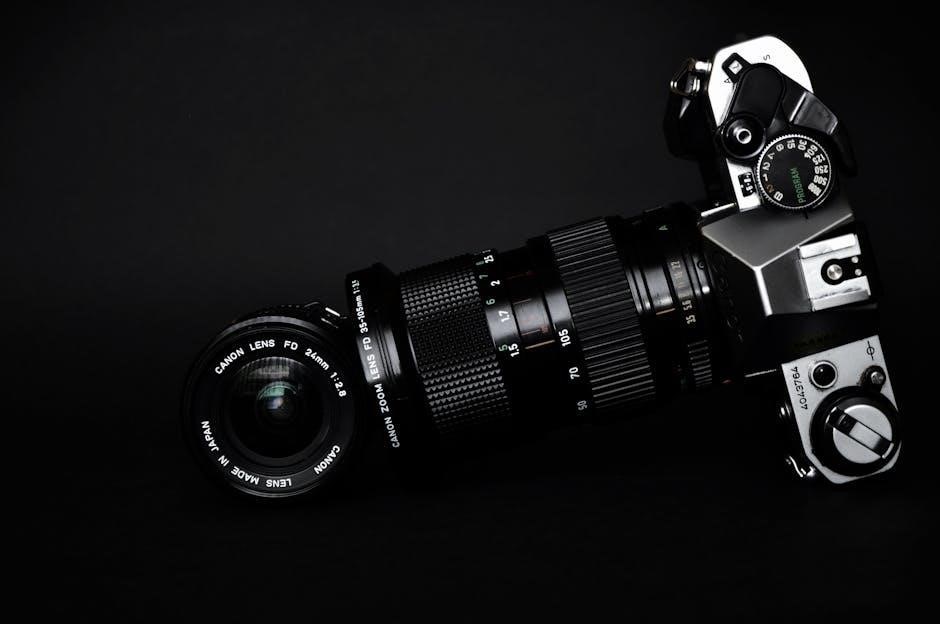
Manual mode, often labeled as “M” on camera dials, is a setting that grants photographers complete control over exposure settings. It allows adjustment of aperture, shutter speed, and ISO independently, unlike automatic or semi-automatic modes. This mode is ideal for photographers who want to execute their creative vision precisely, as it eliminates reliance on the camera’s auto-settings. In manual mode, the photographer manually balances the exposure triangle—aperture, shutter speed, and ISO—to achieve the desired effect. It is particularly useful in challenging lighting conditions or when specific artistic effects are required. While it offers full creative control, it also demands a good understanding of photography fundamentals. Manual mode is not just for professionals; it’s a powerful tool for anyone aiming to master their camera and produce high-quality, customized images.
Why Use Manual Mode?
Manual mode is invaluable for photographers seeking creative control and precision. It allows for fine-tuning aperture, shutter speed, and ISO to match artistic vision and lighting conditions. Unlike automatic modes, manual mode ensures consistent exposure across shots, which is crucial for maintaining uniformity in a series of images. It is particularly beneficial in challenging lighting scenarios, such as low light or high-contrast environments, where auto-settings may fail to capture the desired result. Manual mode also enables photographers to achieve specific artistic effects, like motion blur or shallow depth of field, with greater ease. By mastering manual mode, photographers gain a deeper understanding of the exposure triangle and develop the skills to adapt to any situation. This mode is not just for professionals; it’s a powerful tool for anyone looking to elevate their photography and unlock creative possibilities.
Understanding the Exposure Triangle
The exposure triangle combines aperture, shutter speed, and ISO to control light and create balanced images, offering photographers a foundation for achieving desired artistic and technical outcomes.
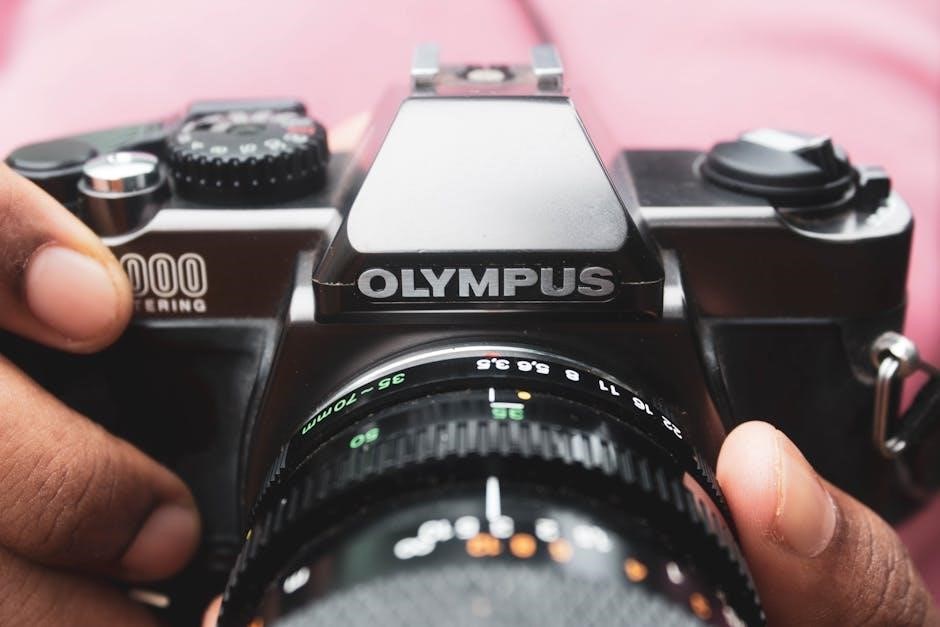
Aperture: F-Stops and Depth of Field
Aperture, measured in f-stops, regulates how much light enters the lens. Lower f-stops (e.g., f/2.8) open the aperture wider, letting in more light and creating a shallower depth of field, while higher f-stops (e.g., f/16) narrow the aperture, reducing light and increasing depth of field. This allows photographers to control focus and blur effects. Aperture is essential for creative control, enabling techniques like background blur in portraits or sharp focus in landscapes. Understanding f-stops is crucial for mastering manual mode and achieving desired visual effects in photography.
Shutter Speed: Motion and Blur
Shutter speed determines the length of time the camera’s shutter remains open, measured in seconds or fractions of a second. It is a key component of the exposure triangle and significantly impacts the appearance of motion in images. Faster shutter speeds, such as 1/1000th of a second, freeze motion, ideal for capturing sharp images of moving subjects like sports or wildlife. Slower speeds, such as 1 second, create motion blur, adding a sense of dynamism to photos, like flowing water or light trails. Balancing shutter speed with aperture and ISO is essential for achieving the desired effect. Proper use of shutter speed allows photographers to convey motion or stillness, enhancing the artistic and narrative qualities of their work. Mastering this element is vital for creative control in manual mode photography.
ISO: Sensitivity and Noise
ISO determines the camera’s sensitivity to light, with lower values (e.g., ISO 100) suited for bright conditions and higher values (e.g., ISO 6400) for low-light situations. It balances exposure by adjusting light capture without changing aperture or shutter speed. Higher ISOs introduce noise, visible as grain or pixelation, which can degrade image quality. The ideal ISO depends on lighting and desired image clarity. Experimenting with different settings helps find the optimal balance between brightness and noise, ensuring clear and sharp photos in various conditions.
When to Use Manual Mode
Manual mode is ideal for low-light photography, artistic effects, and tripod-mounted shots, offering consistency and creative control over exposure in challenging or specific lighting conditions.
Low Light Photography
In low-light conditions, manual mode is indispensable for achieving optimal results. It allows precise control over ISO, aperture, and shutter speed to balance exposure without relying on auto settings. By adjusting ISO to minimize noise, using wider apertures to let in more light, and selecting slower shutter speeds carefully to avoid motion blur, photographers can capture sharp, well-exposed images. A tripod is often essential for stability, especially with longer exposures. Manual mode ensures consistency across shots, even as lighting varies, making it ideal for night photography, indoor events, or HDR capture. This level of control enables photographers to adapt to challenging lighting scenarios creatively and effectively, ensuring high-quality outcomes in low-light environments.
Artistic Effects and Creative Control
Manual mode unlocks unparalleled creative control, enabling photographers to craft unique artistic effects tailored to their vision. By independently adjusting aperture, shutter speed, and ISO, one can achieve specific visual styles, such as shallow depth of field for portraits or motion blur for dynamic action shots. This flexibility allows for intentional overexposure or underexposure to emphasize certain elements or create moody atmospheres. For example, a slow shutter speed can transform waterfalls into silky flows or capture light trails in low-light scenes. Manual mode also enables precise control over noise and grain, adding texture to images. With this level of customization, photographers can experiment with unconventional techniques, such as multiple exposures or intentional camera movements, to produce one-of-a-kind results. This creative freedom makes manual mode indispensable for artists seeking to push boundaries and express their unique perspective through photography.
Setting Up Manual Mode
To set up manual mode, switch your camera to ‘M’ and adjust ISO, aperture, and shutter speed to balance exposure. Use the built-in light meter as a guide.
A tripod is recommended for stability, especially in low-light conditions, ensuring sharper results and precise control over your creative vision.
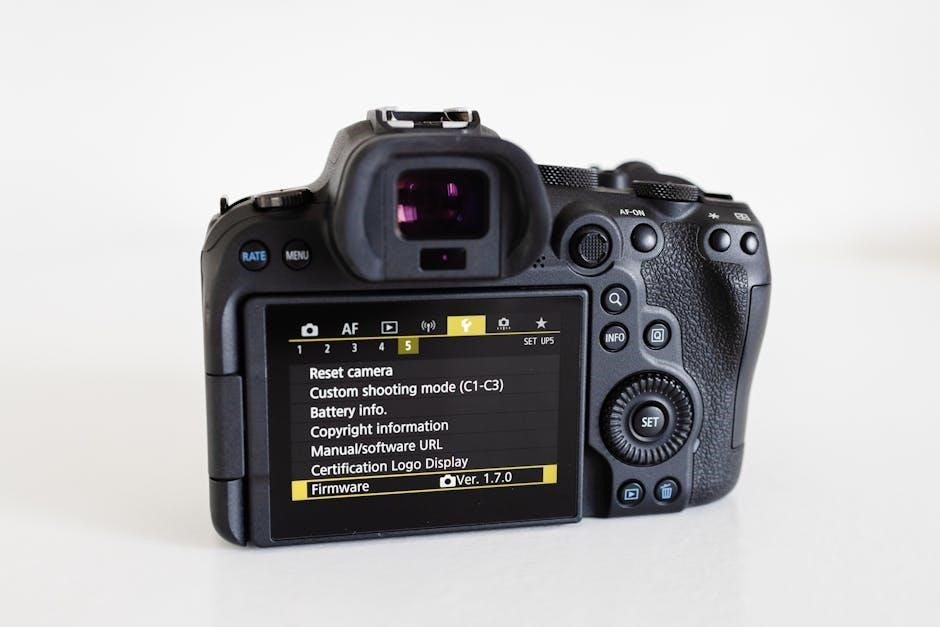
On DSLR Cameras
Setting up manual mode on a DSLR camera is straightforward. Locate the mode dial on the top of the camera and turn it to the ‘M’ position. This grants full control over aperture, shutter speed, and ISO.
Use the aperture control dial (typically on the lens) to adjust f-stops, and the shutter speed dial (usually on the top right) to set your desired exposure time. The ISO button is often found on the top panel and allows you to adjust sensitivity to light.
DSLR cameras feature a built-in light meter to help balance exposure. Use this tool to ensure your settings align with the desired brightness. For added stability, especially in low-light conditions, mount the camera on a tripod to minimize camera shake.
Manual mode on DSLRs offers precise control, enabling photographers to achieve consistent results and creative freedom. Start with auto settings for guidance, then transition to manual mode for full artistic command.
On Mirrorless Cameras
Activating manual mode on mirrorless cameras typically involves turning the mode dial to ‘M’ or accessing it through the camera menu. Once in manual mode, you can adjust aperture, shutter speed, and ISO independently to achieve your desired exposure.
Mirrorless cameras often feature touchscreen controls, allowing you to tap and adjust settings like ISO or White Balance directly on the LCD screen. The electronic viewfinder provides real-time previews of exposure changes, making it easier to fine-tune your settings.
For precise control, use the aperture ring on the lens and the shutter speed dial on the camera body. ISO adjustments can usually be made with a dedicated button or via the touchscreen. Many mirrorless cameras also support focus peaking for manual focus accuracy.
Customizable buttons on mirrorless cameras allow you to assign frequently used settings, streamlining your workflow. With manual mode, mirrorless cameras offer flexibility and creative freedom, making them ideal for photographers who value precision and control.
Troubleshooting Common Issues
Identify overexposure by blown-out highlights and underexposure by dark shadows. Adjust aperture, shutter speed, or ISO to balance the image and achieve proper exposure.
Fixing Overexposed Shots
Overexposed shots occur when too much light reaches the sensor, resulting in blown-out highlights and loss of detail. To fix this in manual mode, start by adjusting the aperture to a smaller f-stop value (e.g., f/5.6 to f/8) to reduce light entry. Alternatively, increase the shutter speed to shorten the exposure time, such as from 1/100s to 1/200s. If the image is still bright, lower the ISO to reduce sensitivity, such as from ISO 400 to ISO 200. Review the image on the LCD and use the histogram to ensure the graph doesn’t spike on the right side. If highlights are still blown out, adjust one or more settings incrementally until the exposure is balanced. For consistent results, shoot in RAW format, as it allows greater flexibility in post-processing to recover details from overexposed areas. Regular practice will help you anticipate and correct overexposure more effectively.
Correcting Underexposed Images
Underexposed images appear too dark, with lost details in shadows. To fix this in manual mode, start by increasing the aperture size (lowering the f-stop number, e.g., f/8 to f/5.6) to let more light in. Alternatively, slow down the shutter speed (e.g., 1/200s to 1/100s) to allow the sensor to capture more light. If the image is still underexposed, raise the ISO (e.g., ISO 100 to ISO 400) to increase sensitivity. Be cautious with high ISOs, as they can introduce noise. Using a tripod can help prevent blur when slowing shutter speed. Review the image on the LCD and check the histogram to ensure the graph doesn’t spike on the left. Shooting in RAW format is beneficial, as it allows better recovery of shadow details during post-processing. By adjusting these settings, you can restore balance to underexposed images and achieve the desired exposure.
Advanced Techniques
Mastering manual mode unlocks advanced techniques like long exposures, focus stacking, and multiple exposures, enabling photographers to push creative boundaries and achieve unique, professional-quality results in various lighting conditions.
Using Manual Mode with RAW Files
Shooting in manual mode with RAW files offers unparalleled flexibility and creative control. Unlike JPEGs, RAW files retain all the data captured by the camera’s sensor, allowing for extensive adjustments in post-processing. When combined with manual mode, photographers can precisely set aperture, shutter speed, and ISO to capture the exact exposure desired. This combination is ideal for high-dynamic-range scenes, as RAW files preserve both highlight and shadow details. Additionally, manual mode ensures consistency across shots, which is crucial for techniques like HDR or focus stacking. The ability to fine-tune white balance, noise reduction, and sharpness during editing makes RAW files a powerful tool for achieving professional-quality results. By mastering manual mode and RAW file workflows, photographers can unlock new levels of artistic expression and technical precision in their work.
Manual Focus for Precision
Manual focus allows photographers to achieve precise control over their images by adjusting the lens focus directly, rather than relying on autofocus. This technique is particularly useful in situations where autofocus may struggle, such as low-light conditions, macro photography, or when shooting through obstacles. By manually focusing, photographers can ensure sharpness exactly where they want it, avoiding the risk of misfocus caused by autofocus errors. Additionally, manual focus enables creative control over depth of field and selective focus, allowing subjects to stand out while blurring distracting elements. Many cameras offer tools like focus peaking or magnification to assist with manual focusing, making it easier to confirm sharpness. While it requires more time and skill, manual focus provides unmatched precision, especially when combined with manual mode, delivering professional-level results in challenging or artistic scenarios.
Best Practices
Start with auto settings as a baseline, then gradually adjust aperture, shutter speed, and ISO for desired results. Regular practice helps refine skills and ensures consistent outcomes in manual mode.
Starting with Auto Settings
Starting with auto settings is a practical approach for photographers transitioning to manual mode. Auto mode provides a baseline exposure, allowing you to focus on composition and creativity while the camera handles initial adjustments. Use auto settings to quickly capture a properly exposed image, then switch to manual mode to refine the results. This method saves time and ensures a well-balanced starting point, especially in dynamic lighting conditions. By reviewing auto settings, you can understand how aperture, shutter speed, and ISO interact in real-world scenarios. This practice helps build intuition and accelerates the learning process. Over time, you’ll gain confidence to rely less on auto settings and trust your manual adjustments. Remember, auto mode is a tool to simplify the transition, not a replacement for mastering manual control. Regular practice will enhance your ability to adapt and create consistently compelling images. This foundational approach ensures a smooth progression toward manual mode mastery.
Regular Practice for Mastery
Mastering manual mode requires consistent practice to develop muscle memory and a deep understanding of how aperture, shutter speed, and ISO interact. Dedicate time each week to experiment with different settings in various lighting conditions. Start by photographing familiar subjects, such as still life or portraits, to observe how changes in settings affect the final image. Regular practice helps you learn to predict outcomes and make adjustments intuitively. Review your photos to identify areas for improvement and refine your technique. Over time, you’ll gain confidence in your ability to adapt to any situation. Remember, mastery is a journey that requires patience and persistence. The more you practice, the more comfortable you’ll become with manual mode, allowing you to focus on creativity and capturing the moments that matter most. Consistent practice is the key to unlocking your full potential as a photographer.